

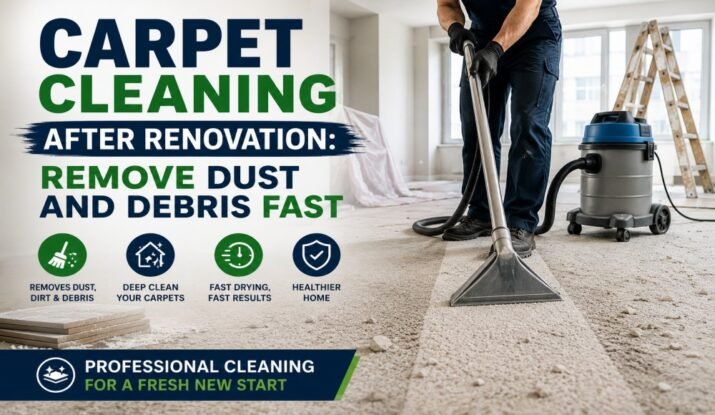
Just finished a reno and staring at carpets that look nothing like the ones you had before the builders showed up? Yeah, we get it. That fine grey dust finds its way into every fibre. Carpet cleaning after a renovation isn’t optional, it’s what turns “still feels like a building site” into “actually feels like home again.” At White Gloves Cleaning Services, we deal with this mess all the time, and we’ve got a few tricks to help you get there fast, whether you’re doing it yourself or calling in the professionals.
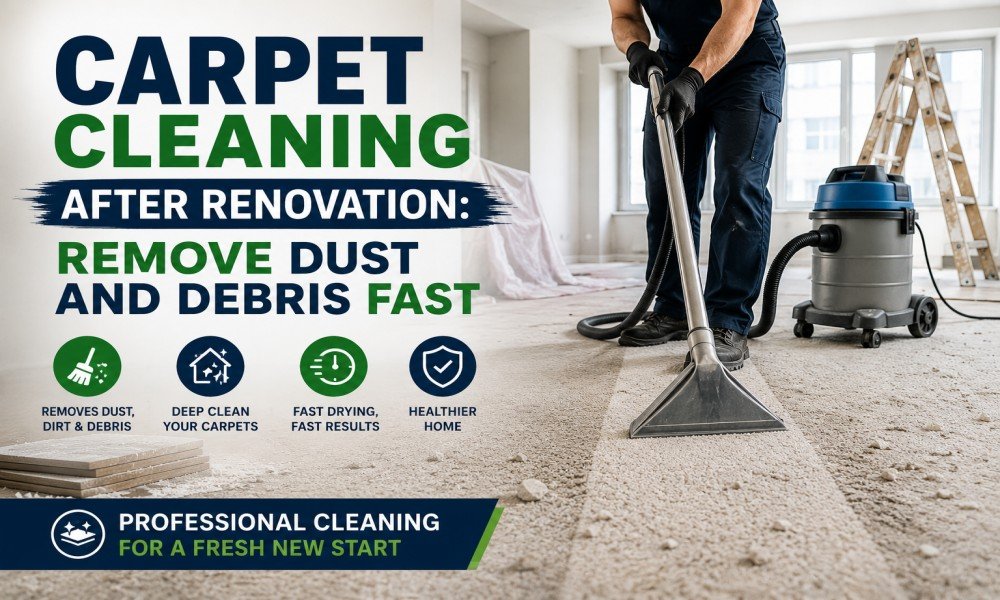
Table of Contents
- Why Renovation Dust Is Its Own Beast
- Step 1: Get the Big Stuff Off First
- Step 2: Vacuum, But Properly This Time
- Step 3: Deal With Any Stains or Marks
- Step 4: Deep Clean to Pull Out the Hidden Dust
- Drying Matters More Than You’d Think
- When It’s Time to Call in the Pros
- Contact Us White Glove Cleaning Services Today
- FAQs
Why Renovation Dust Is Its Own Beast
Regular household dust is one thing. Reno dust is a whole different animal.
Plaster, sawdust, concrete grit, tiny bits of insulation. It settles deep into carpet fibres, well below where a normal vacuum pass reaches. And because it’s fine and powdery, it clings rather than sitting on top.
Leave it too long and you’re not just looking at a dirty carpet. You’re looking at fibres wearing down faster, allergies flaring up, and a musty smell if moisture got trapped during the build.
Step 1: Get the Big Stuff Off First
Before anything else, clear the room out properly.
Move furniture back in later, not now. Sweep or use a dustpan for any obvious debris, offcuts, screws, whatever’s lying about. You want a flat, open surface to work with.
If there’s plastic sheeting still down from the build, pull it up carefully. Shaking it out indoors just sends the dust straight back onto your freshly exposed carpet.
Step 2: Vacuum, But Properly This Time
This is where most people rush, and it shows.
A single quick pass won’t touch renovation dust. You need slow, overlapping strokes, and going over the same section three or four times isn’t overkill here. It’s necessary.
Use the highest suction setting your vacuum has. And swap in a fresh filter or bag before you start, if you can. A clogged one just blows fine dust back into the air instead of trapping it.
Skirting edges and corners collect the worst of it. Don’t skip those bits just because they’re fiddly.
Step 3: Deal With Any Stains or Marks
Paint splatters, adhesive residue, the odd boot print from a tradie who forgot to take their shoes off. These need their own approach.
Don’t scrub. Blot instead, working from the outside of the mark inward. Scrubbing just grinds the mess deeper and frays the fibres. For anything sticky like adhesive, patience beats elbow grease.
Always test any cleaning product on a hidden patch first. The last thing you need after all that renovation effort is a bleach spot in the middle of the lounge.
Step 4: Deep Clean to Pull Out the Hidden Dust
Here’s the bit vacuuming alone can’t manage.
Fine renovation dust often sits wedged right down at the base of the fibres. A proper deep clean, using hot water extraction, pushes cleaning solution down into the pile and pulls it all back out again, dust and all.
This step makes the biggest difference after a reno. It’s the gap between carpet that looks okay from a distance and carpet that actually feels clean underfoot. If you’re weighing up doing this yourself against getting someone in, our carpet cleaning service page runs through what a professional deep clean actually involves.
Drying Matters More Than You’d Think
Damp carpet after a deep clean basically invites dust to resettle and stick even harder. So drying properly isn’t a step to rush.
Open windows if the weather allows it. Get fans running. A dehumidifier helps too, especially if your reno left damp patches in the walls or floor. Keep foot traffic off until it’s fully dry, usually somewhere between six and ten hours depending on conditions.
While you’re at it, don’t forget the windows. Builders’ work tends to leave a fine film on glass too, and a window cleaning once over finishes the job so the whole room feels fresh, not just the floor.
When It’s Time to Call in the Pros
DIY works fine for smaller jobs. But a whole house reno clean is a different beast, and most people underestimate how long it takes to do properly.
If you’re prepping the place to sell or hand back to a landlord, the standard is even higher. There’s a good breakdown of what that involves on our end of tenancy cleaning page, which covers similar ground to a post reno clean.
For a deeper look at what makes a proper clean worth paying for, this piece on the benefits of hiring a professional lays it out clearly. And for the full walkthrough of what a step by step clean looks like, our Auckland carpet cleaning guide covers that too.
Either way, once the last of the dust is gone, the team over at White Gloves can help you get there without the guesswork. Book it in, and let someone else deal with the mess for once.
Contact Us White Glove Cleaning Services Today
White Gloves can provide you with Carpet cleaning results in New Zealand.
Location: Christchurch, New Zealand (Office)
Telephone: +64 033905749
Email: Care@wgcs.co.nz
FAQs
1. How soon after a renovation should I clean the carpets?
As soon as the mess settles, ideally within a day or two. The longer dust sits, the deeper it works in. White Gloves Cleaning Services can usually fit in a post reno clean quickly, before it gets a chance to set.
2. Can I just vacuum instead of getting a deep clean?
Vacuuming handles the surface fine, but renovation dust sits deeper than a vacuum can reach. A deep clean gets underneath that layer.
3. Will renovation dust trigger allergies?
It can, especially plaster and sawdust, which are fine enough to stay airborne and settle into fabric. Cleaning carpets soon after a reno helps cut that down.
4. Does carpet cleaning remove paint or adhesive marks too?
Fresh marks usually lift well. Older, set in ones might need more work, sometimes a specialist treatment.
5. How long will my carpet take to dry?
Usually six to ten hours, depending on ventilation and weather. Fans and open windows speed things up.